Studio Lighting Basics: Key, Fill, and Back Light Explained
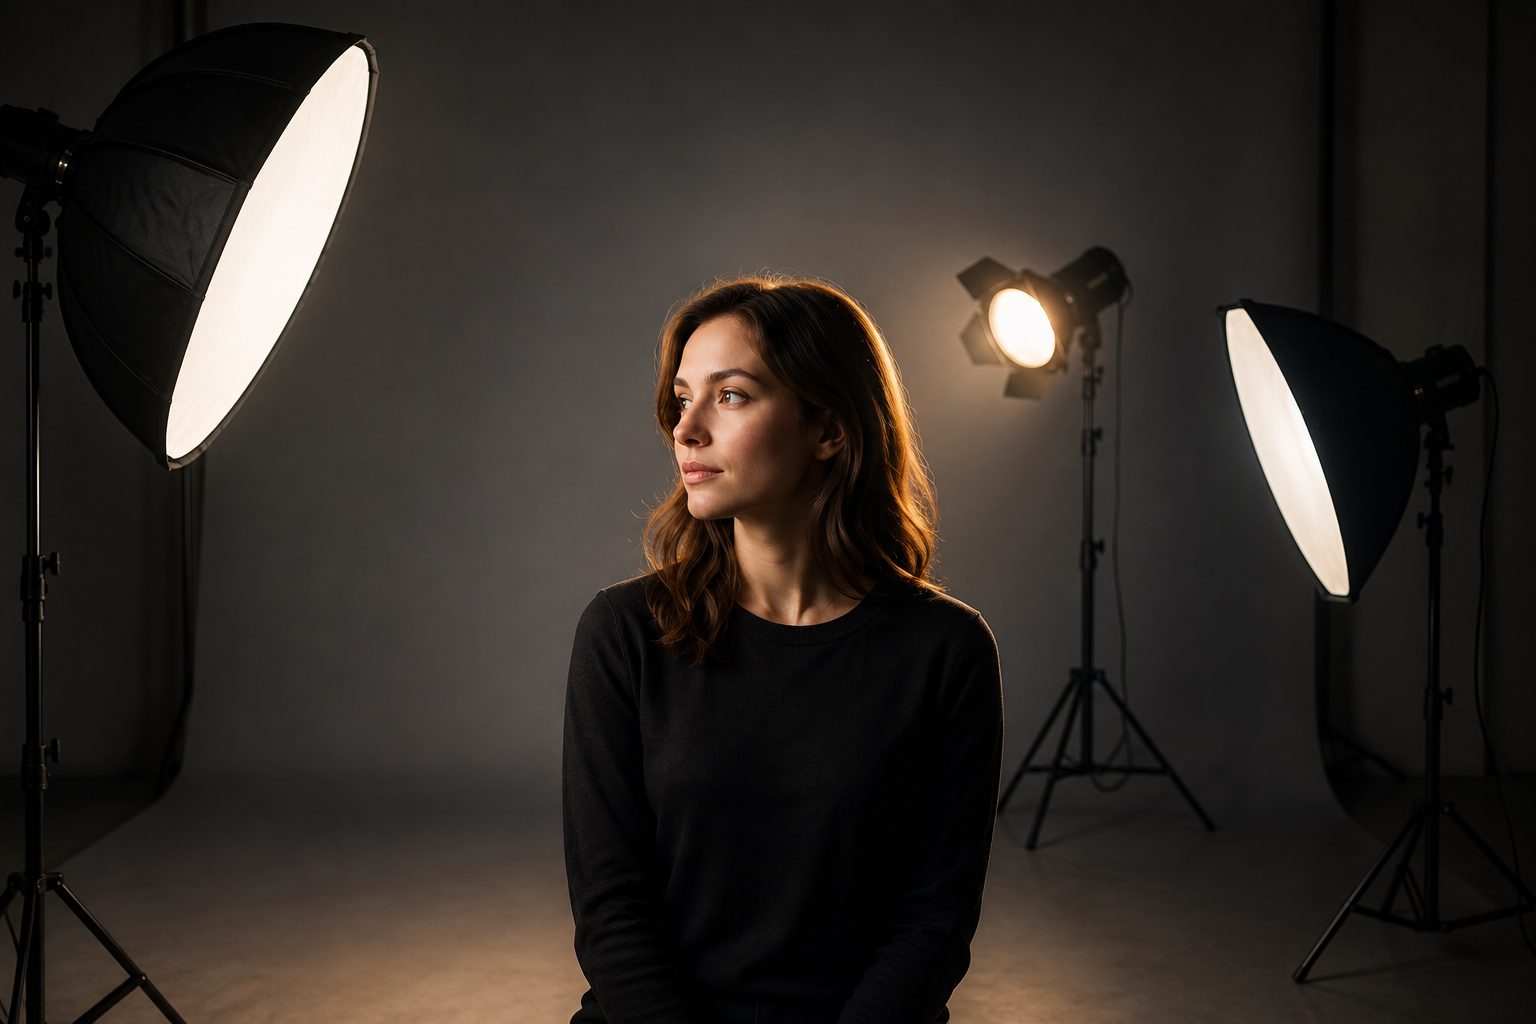
Ask any cinematographer what separates amateur footage from professional work and lighting will top the list — above camera choice, above resolution, above almost everything. The foundation of that craft is three-point lighting, a setup so fundamental that a century of filmmaking has not replaced it. Understanding it will improve every video you make, whether you are shooting on a phone or a cinema camera, and it is the first thing we teach first-time renters at Imagicomm Studios. Here is what each light does, where it goes, how to adapt the formula for different work, and the mistakes that give beginners away.
The key light: your sun
The key is your primary source, the light that defines the shape of your subject's face. Place it roughly 45 degrees off the camera axis and 45 degrees above eye level, and you get the classic modeling that makes faces look dimensional rather than flat. Two decisions matter most:
- Size and softness. A large diffused source close to the subject produces soft, flattering shadows. A small hard source creates drama and texture. Corporate and interview work almost always calls for soft; narrative and fashion may want hard.
- Side. Keying from the side the subject faces (short lighting) slims the face; keying the camera side (broad lighting) widens it. Small choice, visible result.
A useful habit: set the key first, alone, with every other light off. If the shot does not look at least decent with just the key, no amount of fill and rim will rescue it. Watch the shadow under the nose — a small downward shadow reading toward the corner of the mouth is the classic mark of a well-placed key.
The fill light: controlling contrast
The fill sits on the opposite side of the key and lifts the shadows the key creates. The critical concept is ratio — how much darker the fill side is than the key side. A 2:1 ratio looks bright and approachable, ideal for corporate spokespeople. A 4:1 or 8:1 ratio looks moody and cinematic. Beginners tend to over-fill, producing flat, shadowless faces; letting shadows live is usually the professional move.
Remember that fill does not require a lamp. A bounce card, a white wall, or the ambient level of the room can all serve. In our studios we often fill with a large bounce because it produces the most natural falloff, and because one less powered fixture means one less thing to balance.
The back light: separation
The back light (or hair light, or rim) shines from behind the subject, creating a thin edge of brightness on shoulders and hair that separates them from the background. It is the light audiences never consciously notice and always miss when it is gone — without it, subjects merge into dark backgrounds like a photocopy. Keep it subtle; a glowing halo says local news, a whisper of edge says cinema. Position it high and behind, opposite the key or directly behind the subject, and flag it so it cannot flare into the lens.
A ten-minute setup walkthrough
Here is the order of operations professionals actually use:
- Place the subject and camera first — lighting serves the frame, not the reverse.
- Kill all ambient light you do not control, or at least know what it is doing.
- Set the key at 45/45, choose soft or hard, and check the nose shadow.
- Add fill until the shadow side holds the mood you want — then take a little back out.
- Add the back light last, just enough to trace an edge.
- Light the background separately for depth, then check skin tones on a monitor, not the camera's tiny screen.
Common mistakes that give beginners away
The frequent offenders: mounting the key too low, which lights faces like a campfire ghost story; mixing color temperatures, so a daylight window fights a tungsten lamp and skin turns patchy; placing the subject flat against a wall so the key throws a hard wall shadow; and over-lighting everything to the same brightness, which erases the depth the whole exercise exists to create. Fixing color temperature alone — matching every source, or gelling the ones you cannot — is the single fastest upgrade most self-taught shooters can make, and it pays dividends again when grading in post.
Adapting the formula
Interviews: classic three-point with soft key, modest fill, gentle rim, plus a fourth light on the background for depth. For a deeper walkthrough of that specific case, see our guide to interview lighting.
Products: the same logic applied to objects — a large soft key to define form, fill cards to open shadows, and edge lights to trace profiles. Reflective products flip the rules: you light what the product reflects, not the product itself.
Podcasts: two hosts means two overlapping three-point setups, which is why podcast lighting benefits from a real grid rather than floor stands crowding the frame. Our podcast studio is pre-lit for exactly this reason — walk in, sit down, look good.
Why a grid changes everything
Everything above can be done with three stands on a living-room floor, but stands eat floor space, appear in wide shots, and topple when someone snags a cable. An overhead lighting grid — standard in every Imagicomm stage — hangs the fixtures above the set, freeing the floor for camera movement and keeping every light exactly where you trimmed it. It is one of the quiet reasons studio footage looks composed and location footage often looks improvised, and one of the first differences renters notice when they move a shoot into a real facility.
Frequently asked questions
How many lights do I actually need?
You can shoot excellent interviews with one good soft key and a bounce card. Three points is the full grammar, not the minimum sentence. Buy or rent one quality large source before three mediocre small ones.
What about natural window light?
A north-facing window is a beautiful soft key — but it changes minute to minute, which is why studio work exists. Use windows for one-off shoots; use controlled fixtures when consistency across a series matters.
Can I learn this hands-on somewhere in Charlotte?
Yes. Three-point lighting takes ten minutes to learn and years to master, and the fastest path is experimentation with real fixtures on a real grid. All of our Charlotte studio spaces come with lighting grids and production power, and our team is happy to walk first-time renters through a basic setup. Get in touch and light something.
Ready to shoot in Charlotte? Check studio availability or book a tour of Imagicomm Studios.